 La imagen puede variar con el articulo original
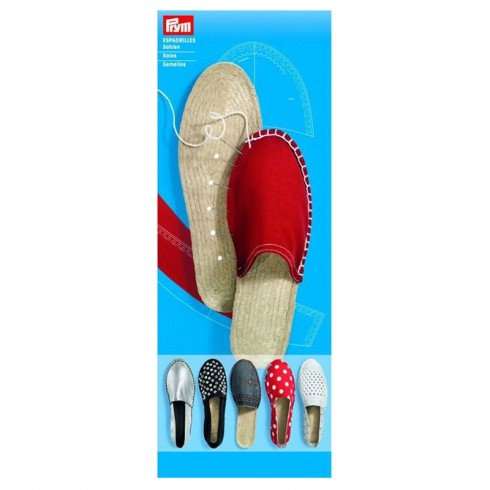
Espadrille soles to create your own footwear according to your taste and style.
Available in different sizes:
Size 30 - 31
Size 32 - 33
Size 33 - 34
Size 36.
Size 37.
Size 38.
Size 39.
Size 40.
Size 41.
Size 42.
Pack of 2 units, that is, a pair.
Source: Prym
 Entrega en 24/48H o recogida en tienda
 Atención al cliente
  Pago seguro


1. Place the top fabric and lining on top of each other, right over right. Transfer the pattern in the desired shoe size to the fabric and cut it out with a 1cm seam allowance. Important: For the left and right shoe, put the front piece on once in reverse.
2. Sew the heel part along the marked line, leaving an opening of approx. 5 cm in the center of the bottom seam. Lock the start and end of the seam. Execute the foot part in the same way, with an opening of approx. 5 cm at the bottom of the side seam to be able to turn the fabric. Lock the start and end of the seam.
3. Notch the seam allowance at the curves and cut diagonally at the angles.
4. Turn the fabric pieces inside out. With the edge shaper, accurately shape the angles and seam. Then iron everything. Manually sew the openings to turn.
5. To check exact positioning, pin the foot part and heel part to the sole, noting the width shim at the front toe. The foot part overlaps the heel part by approx. 1.5cm Remove the foot part again.
6. The heel part is sewn on the sole with a scalloped seam. Start at one side edge. The thread should have a length of approx. 1m.
7. For the stone cut: Thread the thread and tie a knot at the end. Pass the needle through the sole and the fabric. Pull the thread all the way through until the knot is sunk into the sole.
8. Prick the needle through the sole and fabric again at a position offset by approx. 0.5 cm, leading the decorative thread behind the needle and passing the needle. Tighten the thread firmly after each stitch.
9. Repeat this process at 0.5 cm intervals. Once the heel part is sewn, sew, knot and cut the end of the thread.
10. Re-attach the overlapping foot part to the sole and sew it in with scalloping stitches again, again noting the width shim.
11. Put on the shoe, check the fit and, if necessary, make an individual fine adjustment at the open side seam. Sew the side seams with topstitch. Finished!